

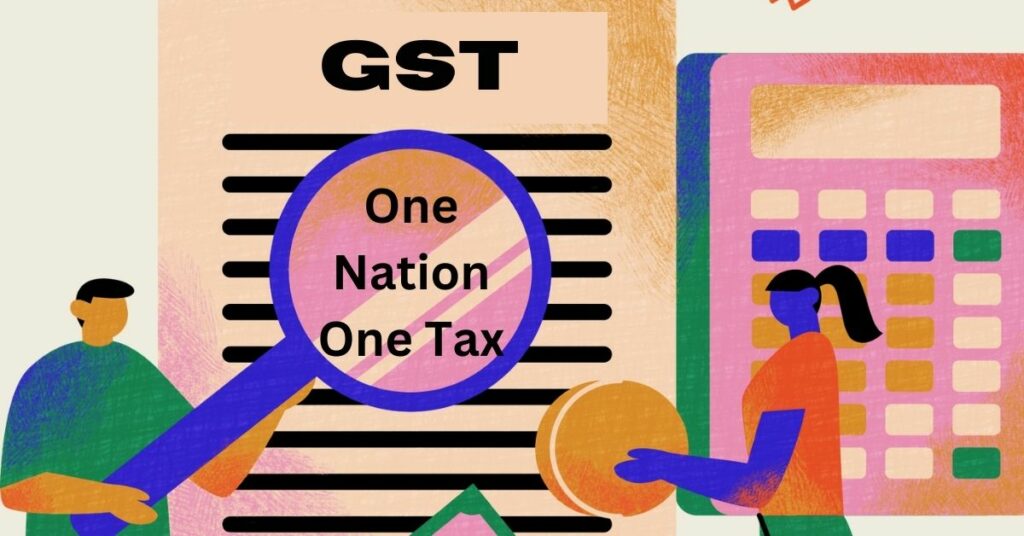
The Goods and Services Tax (GST) is a transformative tax reform that has changed the landscape of indirect taxation in India. It is a comprehensive indirect tax levied on the manufacture, sale, and consumption of goods and services across India. Following its motto, “One Nation, One Tax, One Market” the GST registration process was placed to remove multiple cascading taxes levied by the central and state governments. The aim of GST is to unify the Indian market, making it easier for businesses to comply with tax regulations and reducing the tax burden on consumers.
But is the GST registration process really that simple? Is the procedure for registration under GST really a piece of cake? The answer is No! Despite the government’s continuous efforts to ease the process, filing for a GST is still arduous. Therefore, if you don’t know how to register for GST in India in 2024, scroll down!
Through this GST registration guide, we aim to provide a detailed GST registration process step by step. By the end of this guide, you will understand the importance of GST, eligibility criteria, required documents, registration steps, and post-registration compliance.
Table of Contents
1. Understanding GST
What is GST?
GST is a single tax imposed on the supply of both goods and services from the manufacturer to the consumer. It comprises four components:
| Central Goods and Services Tax (CGST) | Imposed by the central government. It is imposed on the intra-state supply of goods and services in India. Revenue collected by the central government goes to the same. |
| State Goods and Services Tax (SGST): | Imposed by individual state governments. It is imposed on the intra-state supply of goods and services in India. Revenue collected by state government and goes to the State government. |
| Integrated Goods and Services Tax (IGST): | Imposed by the central government. It is imposed on the inter-state supply of both goods and services, including imports into India. Revenue is collected by the central but distributed to state governments. |
| Union Territory Goods and Services Tax (UTGST) | Imposed by the central government. It is imposed on intra-union territory supply of goods and services in India. Revenue goes to Union Territotry government. |
Who Needs to Register for GST in 2024 and Why?
Before diving into the registration process, let’s identify who needs to register and why it’s beneficial.
- GST registration is mandatory for businesses and enterprises with an annual turnover of more than Rs 40 lakhs (Rs 10 lakhs for NE and hill states).
- Registration is also required for individuals involved in e-commerce, interstate supply of goods, and as agents of a supplier, among others.
GST registration offers benefits such as the ability to claim Input Tax Credits, increased logistics efficiency, and access to a simplified tax process, which can be abundantly beneficial for startups and small businesses.
2. Eligibility and Requirements: GST Registration Procedure
| State Category | Threshold Limit for Goods | Threshold Limit for Services |
|---|---|---|
| Normal States | ₹40 lakhs | ₹20 lakhs |
| Special Category States | ₹20 lakhs | ₹10 lakhs |
Be Ready with these Documents for the GST Registration Process
- PAN card of the business or individual
- Proof of business registration (like incorporation certificate for companies)
- Proof of place of business (like a rent agreement or electricity bill)
- Bank account details and proof (like a cancelled cheque)
- Authorization form for the authorized signatory
- Identity & address proof of promoters/directors, along with photographs
3. How to Register for GST in India in 2024?
Part-A: GST Registration Process Step by Step
The GST registration process is entirely online and can be initiated on the official GST portal. Here’s a simplified breakdown:
Step- 1
- Firstly, access the Portal: Go to www.gst.gov.in and click “Register Now.” Select New Registration”
- Under “I am a,” select “taxpayer.”
- Fill in the Details: Provide the necessary details for the business, such as email, mobile number, and PAN.
- Verify your email and mobile number through the OTPs sent to them after submission.
- Afterward, click “Proceed”.
Step- 2
- Enter the two OTPs received via email and mobile or the contact details linked to your PAN. Click on Continue.
- If you haven’t received the OTP, click on Resend OTP.
After this step in the GST registration process, you will get a 15-digit Temporary Reference Number (TRN). It will also be sent to your email and mobile number or PAN-linked contact details. Write down the TRN. You must finish filling in the part B details within the next 15 days.
Step- 3
- Return to the GST portal and click the ‘New Registration’ tab.
- This time, under the “I am a,” select Temporary Reference Number (TRN)
- Then, enter the TRN and the captcha code.
- Click Proceed.
Step- 4
- You will get an OTP at your registered mobile number and email or at the contact details linked to your PAN.
- Enter the OTP and click “Proceed.”
You’ll notice that the application status is marked as drafts. Click on the Edit Icon.

Part-B: GST Registration Process Step by Step
Step- 5
Part B has ten sections. Complete all the details and provide the necessary documents.
Keep the following documents handy-
- Proof of business registration (like incorporation certificate for companies)
- Proof of place of business (like a rent agreement or electricity bill)
- Bank account details and proof (like a cancelled cheque)
- Authorization form for the authorized signatory
- Identity & address proof of promoters/directors, along with photographs
Step- 6
- Under Business Details, enter the trade name, business type, and district.
Note: The trade name is different from the legal name.
Next, select ‘Yes’ or ‘No’ for the composition scheme in the “Option for Composition” field. Then, choose the type of registered person: manufacturer, the service provider of work contracts, or other eligible person.
- Subsequently, in this procedure for registration under GST, enter the business start date and the date liability begins. Choose ‘Yes’ or ‘No’ for casual taxable person registration. If ‘Yes,’ enter the details for advance tax payment to generate the challan, as required by GST law.
- If applicable, select ‘Input service distributor’ as the reason for registration. If different, then choose from the other options available.
- Select the option that fits, then fill in the details. For instance, if you pick ‘SEZ unit,’ provide the SEZ name, who approved it, the approval order number, etc., and attach the necessary documents.
In the ‘Indicate Existing Registrations’ section, select the type of registration you have, such as Central Sales Tax, Excise, or Service Tax. Then, click’ Add’ to add the registration number and date.
- After you fill in the details, the tile will turn blue, indicating that the section is completely filled.
Step- 7
- Under the “Promoters/Partners” section, you can add details for up to 10 people involved in the business.
- Subsequently, you need to provide personal information such as name, address, phone number, birth date, email, and gender, along with identity details like position/status and Director Identification Number (if the person is from a company), citizenship status, PAN, and Aadhaar numbers.
- Also, include the residential address and a photo of the stakeholder. You can upload files in PDF or JPEG format. Maximum size must be 1 MB.
- If the promoter is also the primary authorized signatory, select accordingly. Then, click “SAVE & CONTINUE” to proceed with other steps of the GST registration process.
Step- 8
- Enter the details of the authorized signatory just like you did for the promoters/partners in step 7.
- Afterward, click “SAVE & CONTINUE” to proceed.
Step- 9
- For GST practitioners, input the enrollment ID, and for authorized representatives, provide the requested basic details.
- Then, click “SAVE & CONTINUE” to proceed.
Step- 10
Enter the primary address where you do business. This is usually where your important documents are kept and where top management works. Provide details like address (district, sector/circle/ward/charge/unit, commissionerate code, division code and range code, and contact number.
Say if you rent or own the place. Upload needed papers, like rental agreements. Tick the types of business you do there. Add any other business locations. After that, hit ‘SAVE & CONTINUE.’
Notes:
- Click here to learn how to find your area.
- If you’re registering as an IRP for a company in CIRP, give the original registration details.
- Combine multiple documents into one file for upload. Keep it under 1 MB in PDF or JPEG format, with a max of two files.
- Next, list up to 5 goods and 5 services with their HSN codes or SAC in the next tab.
- Then, click “SAVE & CONTINUE” to proceed.
Step- 11
- Provide your bank details, up to 10 accounts, when registering for GST. It’s optional since December 27, 2018. If you don’t provide them during registration, then the portal will remind you to do so after getting your GSTIN. Upload supporting documents along with the details.
- Then, click “SAVE & CONTINUE” to proceed.
Step- 12
- In the “State Specific Information” section, input the employee code, PT registration, and State Excise License numbers along with the licensee’s name.
- Then, click “SAVE & CONTINUE” to proceed.
Step- 13
- Decide if you want to use Aadhaar authentication. If the authorized person opts for it, the officer won’t need to visit the site unless necessary, and the ARN will be issued promptly after completion.
- Then, click “SAVE & CONTINUE” to proceed.
Step- 14
After completing all the information, head to the Verification page, check the declaration box, and submit the application by:
- Companies and LLPs: Using Digital Signature Certificate (DSC).
- Using e-Sign: You will receive an OTP for verification at your Aadhaar registered number.
- Using EVC: You will receive an OTP on your registered mobile number for verification.
Step- 15
When your application is approved, you’ll see a message. As a result, you will get your Application Reference Number (ARN) in your email and phone. You can then go to the GST Portal to check the status of your ARN registration.
4. Common Mistakes to Avoid
During the GST registration process, it’s essential to avoid common pitfalls, such as:
- Incomplete or incorrect documentation
- Errors in the business structure or PAN details
- Misclassification of goods or services
- Neglecting to file nil returns when applicable
These mistakes made during the procedure for registration under GST can lead to delays or rejection of your GST application, so it’s crucial to double-check all information and documents before submission.
5. In Conclusion
To sum up, staying informed about the latest GST registration procedures and requirements is essential for businesses in India. By following this GST registration process step by step, ensuring the accuracy of your documents, and understanding the associated benefits, you can ensure a smooth registration process and compliance with GST regulations. While GST has streamlined the tax structure, staying diligent with your tax responsibilities will safeguard your business against legal complications.


